 donald
Installing under cabinet lighting transforms a kitchen from dimly functional to brilliantly practical in an afternoon. Most homeowners can complete a plug-in LED strip installation in two to three hours with basic hand tools, while hardwired puck lights require electrical know-how and typically take four to six hours. The process boils down to selecting your light type (LED strips, puck lights, or linear bars), measuring and marking placement points, mounting the fixtures, connecting power, and testing the system.
The appeal of under cabinet lighting extends beyond simple task illumination. These fixtures eliminate shadows on countertops where you prep food, add ambient glow for evening entertaining, and increase home value through a professional finish. LED technology has made the decision easier than ever, offering energy efficiency that costs pennies per month to operate while delivering 50,000 hours of consistent light output.
Your installation approach depends primarily on existing electrical access and your comfort level with wiring. Plug-in systems connect to standard outlets and require no electrical expertise, making them ideal for renters or quick upgrades. Hardwired installations integrate seamlessly with wall switches and eliminate visible cords, but demand either a licensed electrician or solid DIY electrical skills plus local permit compliance. Both methods deliver excellent results when executed properly, and the following guide walks through each path with the detail you need to achieve professional-grade results on your first attempt.
Choosing Your Under Cabinet Lighting Type
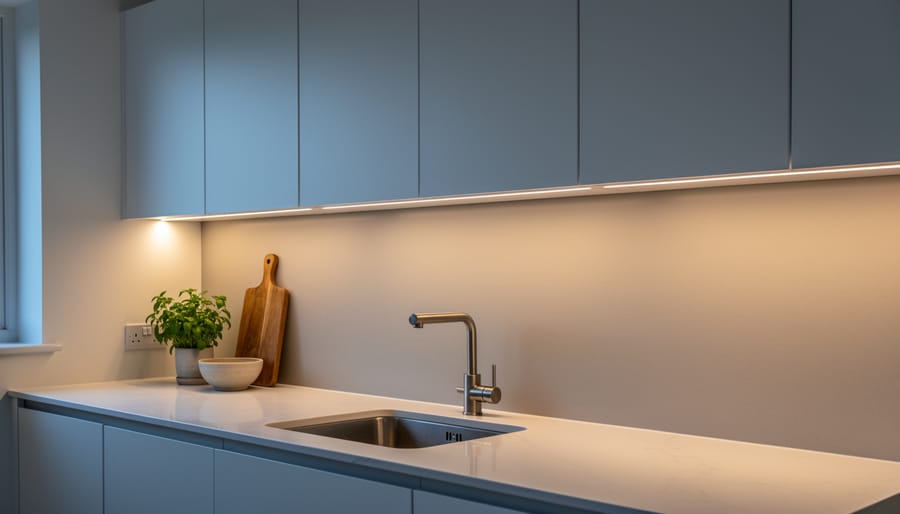
Before you drill a single hole, you need to choose which type of fixture you’ll install. The three main options, LED strip lights, puck lights, and linear LED bars, each have different installation requirements and visual effects.
LED strip lights offer the most flexible, continuous illumination. They come in adhesive-backed rolls that you cut to length, making them ideal for cabinets of any size. Most strip lights work as plug-in systems, with a transformer that connects to a standard outlet. Installation is straightforward: measure, cut, peel, and stick. However, hardwired versions exist for permanent installations, requiring connection to your home’s electrical system.
Puck lights create distinct pools of light rather than continuous coverage. These round, hockey-puck-shaped fixtures mount individually under cabinets with screws or adhesive. You’ll typically space them 12 to 18 inches apart for even lighting. Puck lights work well for both plug-in and hardwired setups, though plug-in versions require running a connector cable between each fixture.
Linear LED bars deliver focused, uniform light in rigid housings. These slim fixtures mount with clips or screws and come in standard lengths (12, 18, 24, or 36 inches). They’re available in both plug-in and hardwired configurations, with hardwired models requiring more complex wiring through cabinets.
For renters or quick installations, stick with plug-in under cabinet solutions. They require no electrical work and remain easily removable. If you’re renovating or want a seamless look without visible cords, choose hardwired fixtures. Hardwired installations offer cleaner aesthetics but demand more time, electrical knowledge, and potentially a licensed electrician.
Your cabinet construction matters too. Adhesive strips work best on smooth, flat surfaces, while screw-mount fixtures adapt to any material.
Tools and Materials You’ll Need
Before you begin your installation, gather all necessary tools and materials to ensure a smooth process. The specific items you’ll need depend on whether you’re installing a plug-in or hardwired system, but having everything ready beforehand prevents mid-project trips to the hardware store.
Basic Tools (Both Installation Types):
- Measuring tape and pencil for marking placement
- Level to ensure straight installation
- Drill with appropriate bits for your cabinet material
- Screwdriver set (Phillips and flathead)
- Wire strippers for any wiring work
- Stud finder to locate secure mounting points
- Scissors or utility knife for cutting LED strips
Additional Materials for Plug-In Systems:
- Under cabinet light fixtures with plug-in adapters
- Cable clips or adhesive wire channels for cord management
- Extension cord if outlets are not conveniently located
- Mounting clips or adhesive backing (often included with fixtures)
Additional Materials for Hardwired Installations:
- Wire nuts in appropriate sizes for your connections
- Electrical tape for securing wire connections
- Voltage tester to verify power is off
- Junction box (if not already present)
- Romex cable or approved wiring for your installation
- Wire connectors and cable clamps
If you’re unsure which system suits your needs better, reviewing a comparison chart of different under cabinet lighting options can help you make an informed decision before purchasing materials.
Safety Precautions Before You Start
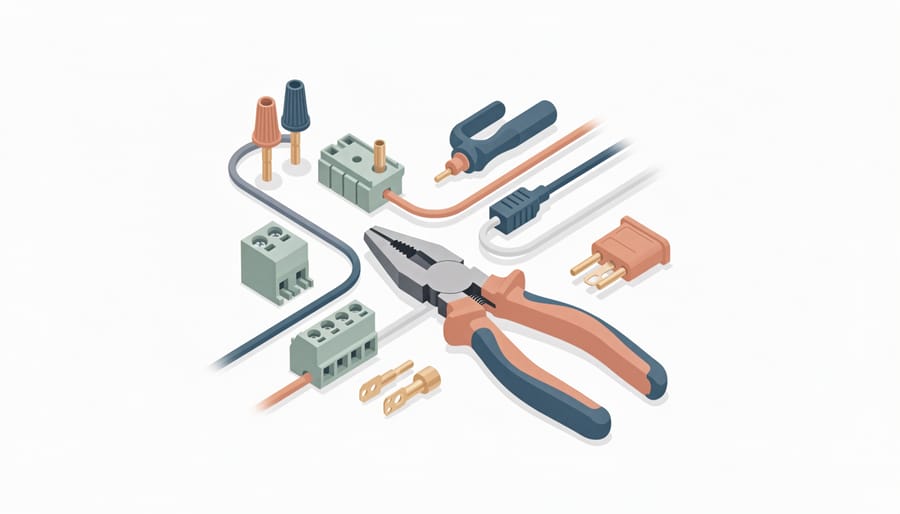
Before you touch any wires or electrical connections, turn off power to the circuit at your home’s main breaker panel. Flip the correct breaker to the “off” position, then verify the power is truly off by testing the circuit with a non-contact voltage tester, never trust the breaker alone, as they can fail or be mislabeled. If you’re installing plug-in LED strips that connect to an outlet with no hardwiring, you can skip the breaker step, but always unplug any existing fixtures before working.
Check your local building codes before starting a hardwired installation. Many jurisdictions require permits for new electrical work, and some mandate that only licensed professionals perform certain tasks. Even if you’re legally allowed to do the work yourself, codes dictate wire gauges, junction box types, and proper grounding, getting these wrong creates fire and shock hazards that won’t be obvious until it’s too late.
Keep your work area dry and well-lit. Water and electricity are a dangerous combination, so if you’re working near a sink, ensure the area is completely dry before you begin. Wear rubber-soled shoes for additional insulation, and never work on electrical installations while standing on a wet floor. If you encounter any wiring that looks damaged, frayed, or outdated (like old cloth-insulated wires or aluminum wiring), stop and consult an electrician rather than proceeding with your installation.
Step-by-Step Installation Process
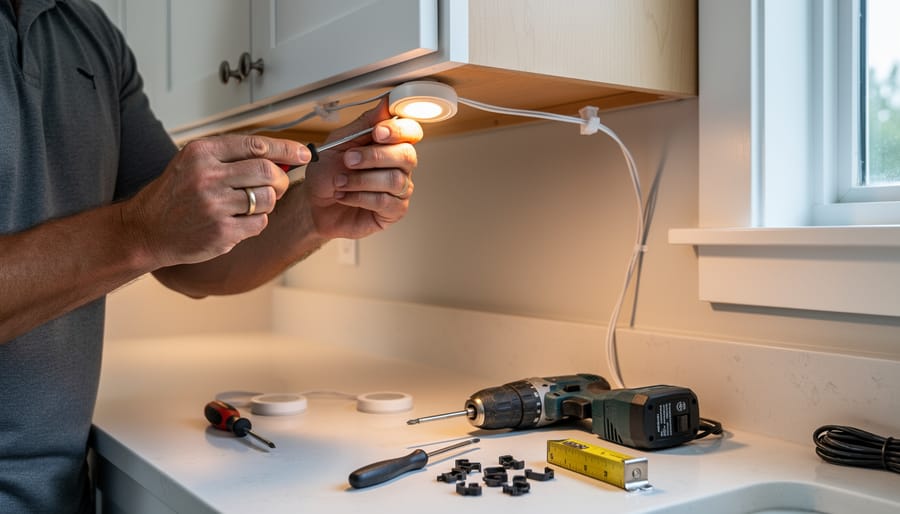
Step 1: Measure and Plan Your Layout
Start by measuring the full length of each cabinet run where you’ll install lighting. Use a measuring tape to record the exact distance from the inside edge of one cabinet to the inside edge of the last cabinet in the sequence. Note any obstacles like range hoods or decorative trim that might interrupt your lighting run.
For even coverage, plan to position lights 2-3 inches from the front edge of your cabinets. This prevents harsh shadows and keeps the light source hidden from view when you’re standing at the counter. If you’re using LED strip lights, measure continuous runs. For puck lights, space them 8-12 inches apart, marking each mounting point with a pencil.
Draw a simple diagram showing where each fixture will mount and how they’ll connect. For hardwired installations, trace the path from your power source to each light, noting where wires will run inside cabinets or along the wall. Identify the nearest junction box or outlet you’ll tap into, and measure that distance to ensure you have enough wire. Mark all drilling points clearly on the cabinet undersides with light pencil marks you can easily see.
Step 2: Prepare the Mounting Surface
Before attaching any lighting fixture, the mounting surface must be clean and ready. Start by wiping the underside of your cabinets with a damp cloth to remove dust, grease, and cooking residue that accumulates over time. This matters more than you might think: adhesive-backed LED strips won’t stick to grimy surfaces, and even screw-mount fixtures perform better when mounted flush against clean wood or laminate.
After cleaning, let the surface dry completely. Run your hand along the area to check for bumps, rough patches, or peeling laminate that could prevent proper adhesive contact. If you’re installing screw-mount puck lights or linear fixtures, now is the time to pre-drill pilot holes at your marked points. Use a drill bit slightly smaller than your mounting screws to prevent splitting, especially near cabinet edges. For particleboard or MDF cabinets, pilot holes prevent crumbling around the screw threads and ensure a secure hold that won’t loosen over time.
Step 3: Install Mounting Hardware or Adhesive Backing
With your surface prepared, it’s time to attach the mounting components that will hold your lights securely in place. The installation method varies significantly based on your fixture type.
For adhesive-backed LED strip lights, peel back about two inches of the protective backing without removing it completely. Position the strip at your marked starting point, press firmly for 10 seconds to create initial contact, then gradually peel and press the remaining length. Work slowly to avoid air bubbles and ensure the strip follows your cabinet edge precisely. If you’re working around corners, cut the strip only at designated cut marks and use corner connectors.
Screw-mount fixtures like puck lights or linear bars require mounting clips or brackets. Position each clip at your pre-marked locations and secure with the provided screws, ensuring they’re level. Don’t overtighten, you want firm contact without cracking cabinet material or stripping screw holes.
For track-mounted systems, install the track channel first using the provided mounting hardware. Check with a level at multiple points along the track’s length before final tightening. The fixtures will click or slide into this track in the next step.
Step 4: Connect the Wiring (Hardwired) or Plug In (Plug-In Systems)
reasoning: 850, output: 429, total_estimate: 1279
This step splits into two distinct paths depending on your installation type.
For Hardwired Installations:
Turn off power at the breaker and verify it’s off with your voltage tester before touching any wires. Open your junction box and identify the household wires: typically black (hot), white (neutral), and green or bare copper (ground).
Match your fixture wires to the household wiring. Connect black to black using a wire nut, hold the wires parallel, insert them into the nut, and twist clockwise until tight. Repeat with white to white and ground to ground. Give each connection a firm tug to confirm it’s secure. Wrap electrical tape around the base of each wire nut for extra protection.
Carefully tuck the connected wires into the junction box, ensuring no bare wire is exposed. Replace the junction box cover and secure your fixture housing to the cabinet underside with the provided screws.
For Plug-In Systems:
Connect your fixtures to each other using the linking cables provided. Most LED strips and puck lights daisy-chain together, letting you power multiple units from one transformer.
Route the power cord along the back edge of your cabinets toward the nearest outlet. Use adhesive cable clips every 12 inches to keep cords hidden and prevent sagging. If the cord crosses a visible area, consider running it through a small hole drilled into the cabinet side panel, keeping it completely out of sight.
Plug the transformer into your outlet. If your outlet is inside a cabinet, drill a small access hole for the cord. Some transformers include mounting brackets, use these to secure the unit inside the cabinet and prevent accidental unplugging.
Step 5: Secure the Fixtures and Tidy Up
Once your wiring is complete and tested, lock the fixtures into their permanent position. For screw-mounted lights, drive the remaining mounting screws firmly but without overtightening, which can crack plastic housings or strip the holes in your cabinet base. LED strips with adhesive backing need firm, even pressure along their entire length, press and hold each section for 30 seconds to ensure the bond takes.
Tackle wire management next. Bundle excess cord or wire using small cable clips spaced every 12 to 18 inches along the cabinet underside, keeping everything tight against the wood and out of sight. For hardwired installations, tuck wire nuts and connections neatly into the junction box before securing the cover plate. Run any visible power cords along the back edge of cabinets or down inside corner posts where they’re least noticeable.
Wipe down the fixtures and cabinet surfaces with a clean microfiber cloth to remove fingerprints, dust, and adhesive residue. Check that all lights sit flush and level, and adjust mounting clips if any fixtures sag or tilt. Step back and view the installation from multiple angles, lights should appear uniform in height and spacing, with no dangling wires or visible hardware disrupting the clean lines.
Testing Your Installation and Troubleshooting
Turn the power back on and flip the switch, your lights should illuminate immediately. If they don’t, double-check that the circuit breaker is fully engaged and the wall switch is in the on position. For plug-in systems, verify the transformer is securely connected and the outlet has power by testing it with another device.
Once the lights are on, stand back and assess the coverage. Even illumination across your countertop without dark spots or harsh shadows indicates proper placement. If you notice uneven lighting, you may need to reposition fixtures or add supplementary units in the gaps. The LED lighting revolution has made these adjustments easier since most modern strips and pucks are lightweight and repositionable.
- Verify all connections are tight and properly insulated with no exposed wires
- Test dimmer switches by cycling through low, medium, and high settings to confirm smooth transitions
- Check for flickering, which often signals loose wiring or incompatible dimmer modules
- Inspect color temperature consistency across all fixtures to ensure a uniform appearance
- Confirm no buzzing or humming sounds that indicate electrical interference or transformer issues
Flickering typically means either a poor connection at the wire nuts or an incompatible dimmer. LED fixtures require LED-specific dimmers, not older incandescent models. Swap the dimmer if you experience erratic behavior. Dim output despite fresh installation suggests voltage drop over long runs, you may need a higher-capacity transformer or additional power feeds for extended cabinet spans.
For persistent issues beyond basic troubleshooting, lighting design software can help you model ideal fixture placement and power requirements before making adjustments. If problems continue after checking connections and power supply, consult a licensed electrician to verify your circuit can handle the load and that all code requirements are met.
Optimizing Your Under Cabinet Lighting
With your lights installed and tested, you can enhance their functionality and extend their lifespan. If your fixtures offer tunable white technology, experiment with color temperature settings, warmer tones (2700K-3000K) create a cozy ambiance for evening cooking, while cooler temperatures (3500K-4000K) provide task-focused brightness for meal prep. Most adjustable systems include a remote or app for quick switching between presets.
Adding a dimmer switch transforms your lighting from purely functional to versatile. For hardwired installations, replace your standard switch with a compatible LED dimmer rated for your total wattage. Plug-in systems often accept inline dimmers or smart plugs with dimming capability. Dimming extends bulb life by reducing heat stress and lets you set the right mood for different times of day.
Consider integrating your under cabinet lights into a smart lighting design system. Smart switches, hubs, or WiFi-enabled fixtures allow voice control, scheduling, and automation, lights can turn on automatically at sunset or dim gradually as you wind down for the night. Many systems sync with existing smart home platforms like Alexa, Google Home, or Apple HomeKit.
Maintenance keeps your lights performing optimally. Wipe fixtures monthly with a soft, dry cloth to prevent dust buildup that dims output. Check connections twice yearly, especially for hardwired systems, tightening any loose wire nuts. Replace LED strips or bulbs when they reach 70% of original brightness rather than waiting for complete failure.
Installing under cabinet lighting transforms your kitchen from a functional space into a well-lit, inviting environment where meal prep becomes easier and countertops shine. Whether you chose a simple plug-in system or tackled a hardwired installation, you’ve added lasting value to your home with improved task lighting and ambiance.
The skills you’ve developed through this project, measuring precisely, handling basic electrical connections, and thinking through lighting placement, will serve you well in future home improvement endeavors. Your new lighting should provide years of reliable service with minimal maintenance.
If you’re planning additional lighting upgrades or want expert guidance on creating a cohesive lighting design throughout your home, DonsBulbs offers personalized consultation services. Our lighting specialists can help you select fixtures that complement your under cabinet installation and achieve the exact atmosphere you envision for your space.
Frequently Asked Questions
Installing under cabinet lighting raises several practical questions, especially for first-time DIYers. Here are answers to the most common concerns homeowners face during the planning and installation process.
Do I need a permit to install under cabinet lighting?
Hardwired installations typically require an electrical permit in most jurisdictions, while plug-in systems generally do not. Check your local building department’s requirements before starting work, as permit rules vary by location and whether you are adding new circuits or connecting to existing ones.
How far apart should puck lights be spaced?
Space puck lights 8 to 12 inches apart for even illumination without dark spots between fixtures. Position the first and last lights 4 to 6 inches from the cabinet ends to prevent shadowing at the edges.
Can renters install under cabinet lighting without damaging cabinets?
Absolutely. Battery-operated fixtures with adhesive backing or magnetic strips offer damage-free options that remove cleanly when you move. Plug-in LED strips with low-profile cord channels also work well for rental situations.
Do I need to hire an electrician for this project?
Plug-in systems are straightforward DIY projects requiring no electrical expertise. For hardwired installations, hire a licensed electrician if you are uncomfortable working with household wiring or if your local code requires professional installation for kitchen electrical work.
These questions represent the most frequent concerns we hear from customers planning their installations. Battery-operated options have improved significantly in recent years, offering brightness levels comparable to hardwired systems while eliminating electrical complexity entirely. Many homeowners start with a plug-in system in one area to test the functionality before committing to a whole-kitchen hardwired installation.
The permit question deserves special attention since enforcement varies widely. Some areas require permits for any modification to household electrical systems, while others exempt low-voltage lighting or simple fixture replacements. A quick call to your building department clarifies requirements and prevents potential issues during future home sales or insurance claims.